Image source – Pixabay
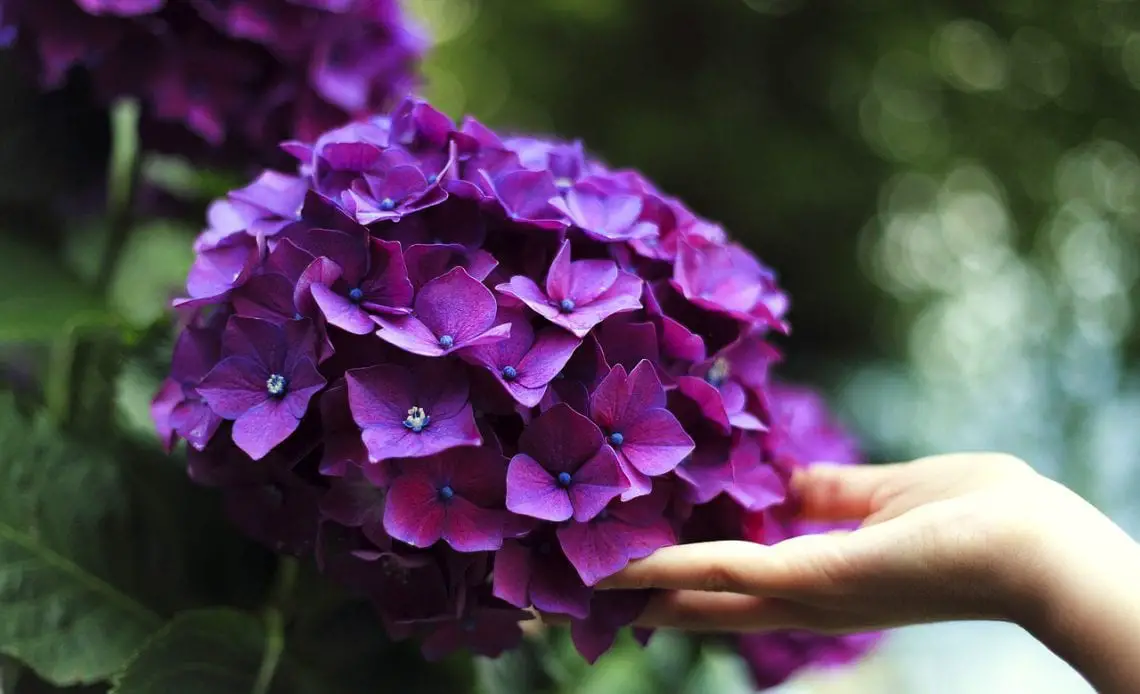
Hydrangeas are popular flowering plants commonly found in the American and Asian continents. The name Hydrangea means “water vessel”, which refers to the shape of the seeds of this plant. Hydrangeas bloom during summer and continue until fall. The colorful flowers this plant produces make it a popular flowering plant found in most gardens. If you have hydrangea plants in your garden, then you may sometimes observe slow growth in the plants. This can be due to the soil or due to a lack of sufficient sunlight. In such a case, you may want to shift the plant to a suitable location. The article tells you all you need to know about transplanting hydrangeas.
When to transplant?
Transplanting hydrangeas need to be done at the right time. It should be done after the flowering season is over and when the plant has become dormant. This is when the flowers are all gone and the leaves have dropped. While transplanting hydrangeas you need to take care that the ground has not frozen due to winter. This will make the transplanting a failure. So the ideal time is by the end of fall or early in winter before the ground freezes. November is the best time to do this. If you live in warmer climates where the ground doesn’t freeze, then you can do this anytime. However, it is better to finish it before February.
Where to transplant?
The main reason for transplanting hydrangeas would be problems with the location. You need to transplant the hydrangeas to the right location where the soil is well-drained and there is sufficient sunlight. The plant needs to have afternoon shade and should not be fully exposed to the sun’s heat. The hydrangea root ball needs to be shifted and you need to see if the soil has space to accommodate it. Decide the location before you set out to transplant your hydrangeas.
How to transplant?
Transplanting hydrangeas is mostly a one-person job. You should be able to do it on your own unless it is a fairly big shrub or if you find it difficult to lift the plant with the root. If you are unsure, consult someone who knows about gardening and horticulture. Take their help before you go ahead.
Preparing to transplant
There are certain preparatory things you need to do before you start with the transplanting work. You need to ensure the following:
- Decide the location and prepare the relocation spot in advance. Make sure you dig the hole to place the plant with the root ball. The location must have sufficient space for the plant and root. Don’t make the mistake of starting to shift and then finding the hole you have dug is not sufficient. You will then have to dig again, during which time your plant may start dying.
- You may need to do a lot of digging, particularly if the shrub is big. Make sure you have the necessary implements to dig the hole. In case you are not in a physical condition to do the digging, take someone’s help.
- You need fertilizer at the new location. The plant that has been transplanted needs support to grow. Make sure you have the fertilizer ready and available with you.
- You also need mulch for the transplanted plant. This is essential to prevent the roots from drying. Keep sufficient mulch ready before you start.
The Transplant Procedure
Once all these prerequisites are completed, you can start the process of transplanting hydrangeas. The detailed procedure for the same is given below:
- Dig the hydrangea plant that you want to transplant. Use your shovel around the bush in a circle while digging out the plant. This ensures you can remove the root ball easily. Plunge the shovel into the soil angling it towards the plant.
- You need to try to retain as much of the root ball as possible. This will ensure the plant grows well at the new location.
- Once you make a circle, then use the shovel to gently rock the plant. Do this until it becomes free below the soil. This will allow you to take it out easily.
- Avoid digging too close to the plant or digging too hard as it may damage the roots.
- This calls for a bit of care as you need to use the shovel in such a way that the entire plant along with the root ball is freed. Do this gently until the plant has come loose and is ready to be lifted.
- You can keep a tarpaulin sheet if you wish. Lift the plant with the root ball and move it to the tarp before you take it to the new location. Do note that the root ball is likely to be heavy especially if it is a large shrub. You can even use a wheelbarrow or bucket to move the plant if it is small.
- Place the hydrangea in the new location and lower it into the hole that you have dug.
- Add the mulch you have kept ready to the base of the plant. This ensures that the roots are covered with mulch, and they don’t dry up.
- Fill the hole with soil so that the roots are completely covered and the plant is firmly in place.
- Now add the fertilizer to the soil and spread it around. You have now successfully completed the transplantation of your hydrangea.
- The mulch will ensure the roots get moisture. Watering the plant is not required if you are doing this in winter, since there will be moisture. Else, water the plant if the soil seems dry. Avoid overwatering but ensure that the soil is moist. If you do the transplanting during spring, then make sure the plant gets sufficient water.
Hydrangeas are great plants to grow in your garden. In case the location where they grow doesn’t have the right soil type, is not getting sufficient light, or doesn’t have space, you can transplant it to a new location. Transplanting hydrangeas is not a very difficult task. With proper preparation, you can do it by easily following the guidelines given in this article.